Evites, webpages and animated invitations are being used more and more as a beautiful and cost effective way of inviting loved ones to special events. However, how does one keep track of all the information and communication, that traditional paper RSVPs used to do?
Can I use Google Forms for wedding RSVP?
Is it possible to use Google Forms for a Wedding RSVP? Yes, we have found Google Forms provides an elegant and efficient solution to receiving and collating RSVP information from all your guests, all while being completely free. So even the most simple or complex of events can be well organised.
All you need to do is login into your google account, and you can create an RSVP form tailored perfectly to your event. However, if you wish to consider other paid options, read about our top RSVP builder suggestions.
Motion Stamp can then add the link to the RSVP form that you have created, directly into your animated invitation web page. Making your guest’s invitation experience flowing and cohesive.
To see an example of this in action. Visit our example invitation webpage here.
A great video tutorial can also be watched here.
YOU CAN USE A COPY OF OUR RSVP FORM
If you would prefer to simply have a copy of our RSVP form, and ammend it to suit your event, follow these steps...- This is more easily done from a computer and not a phone. First login to your Google account
- Please visit the online RSVP templates here, choose your favourite design and select 'make a copy'
- This should create the form as your own copy, in your Google account, and allow you to edit as needed.
- To check it is in your own Google forms account. Head up to the top left of your Browser and click the purple icon 'Forms Home'
- You should now see a copy of the form in your account. It is called 'Motion Stamp RSVP - Short Form'
HOW TO CREATE AN ONLINE WEDDING RSVP USING GOOGLE FORMS
First, let’s make a simple RSVP form for our pretend couple ‘Bethany & Wendell’. Take a look at it here, so you can see what we are building. We are going to suggest a few things to help make the collection of your data a lot easier. Then for those who want further control, we’ll then create something more dynamic.SIGN INTO YOUR GOOGLE ACCOUNT
Head to Google and sign in, or create a new account. When ready, click on the Google Apps Icon (9 dots in top right corner) and select Forms. Alternatively you can just search for ‘Google Forms’ in your browsers search bar
CHOOSE A TEMPLATE

You can browse the templates, or start from a blank one. To keep it simple, select the RSVP template. You’ll see a picture up top, and some of the form has already been created.
SELECT YOUR FORM SETTINGS

To ensure the form works best for a wedding, we need to tick some settings. These are suggestions only, and you may wish to choose differently. Head up to the top and click ‘settings’. Under Responses we suggest
- Turn off 'Make this a quiz'.
- Turn collect email addresses on. So your responses have an identified guest.
- For Send responders a copy of their responses – choose Always
- For Allowing response editing – turn off, so people contact you if there are changes to their situation.
- Limit to 1 response – turn off, so people don’t need their own google account to use your form.
- You may wish to also write a personalized message to your guests, thanking them for RSVPing. This can be Edited under ‘confirmation message’.
CHOOSE YOUR PICTURE, COLORS & FONT

You can replace the image with your own. Click on the ‘Customise Theme’ button on the top right of screen. It looks like a paint pallet icon. This will open your Theme options. Click on ‘Image uploaded’ button, and you can choose a new photo from a number of locations. Once you have uploaded a new image, you’ll notice the form has automatically updated to create a new color scheme based on your photo. You can change this manually by selecting the ‘+’ button under the ‘Theme Color’ heading. You can also choose a font style in this area, to suit the tone of your event. We have chosen ‘formal’ for our example form.
WRITE AN EVENT HEADING

Under the photo is your Event Title. We have changed the name of our example event to “The Wedding of Bethany & Wendell”, and added in the key information to assist your guests such as date, location and RSVP date. To do this, click on the bar with the text, and this will open the editor for that window. You will also see a menu pops up next to it. This will allow you to add other types of windows, this includes questions, images, and sections, which we will explore next.
COLLECT THE MAIN GUEST NAME FIRST – SHORT ANSWER QUESTION
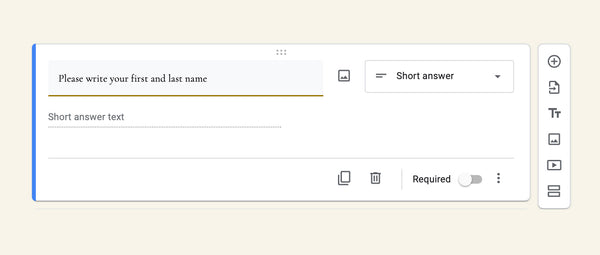
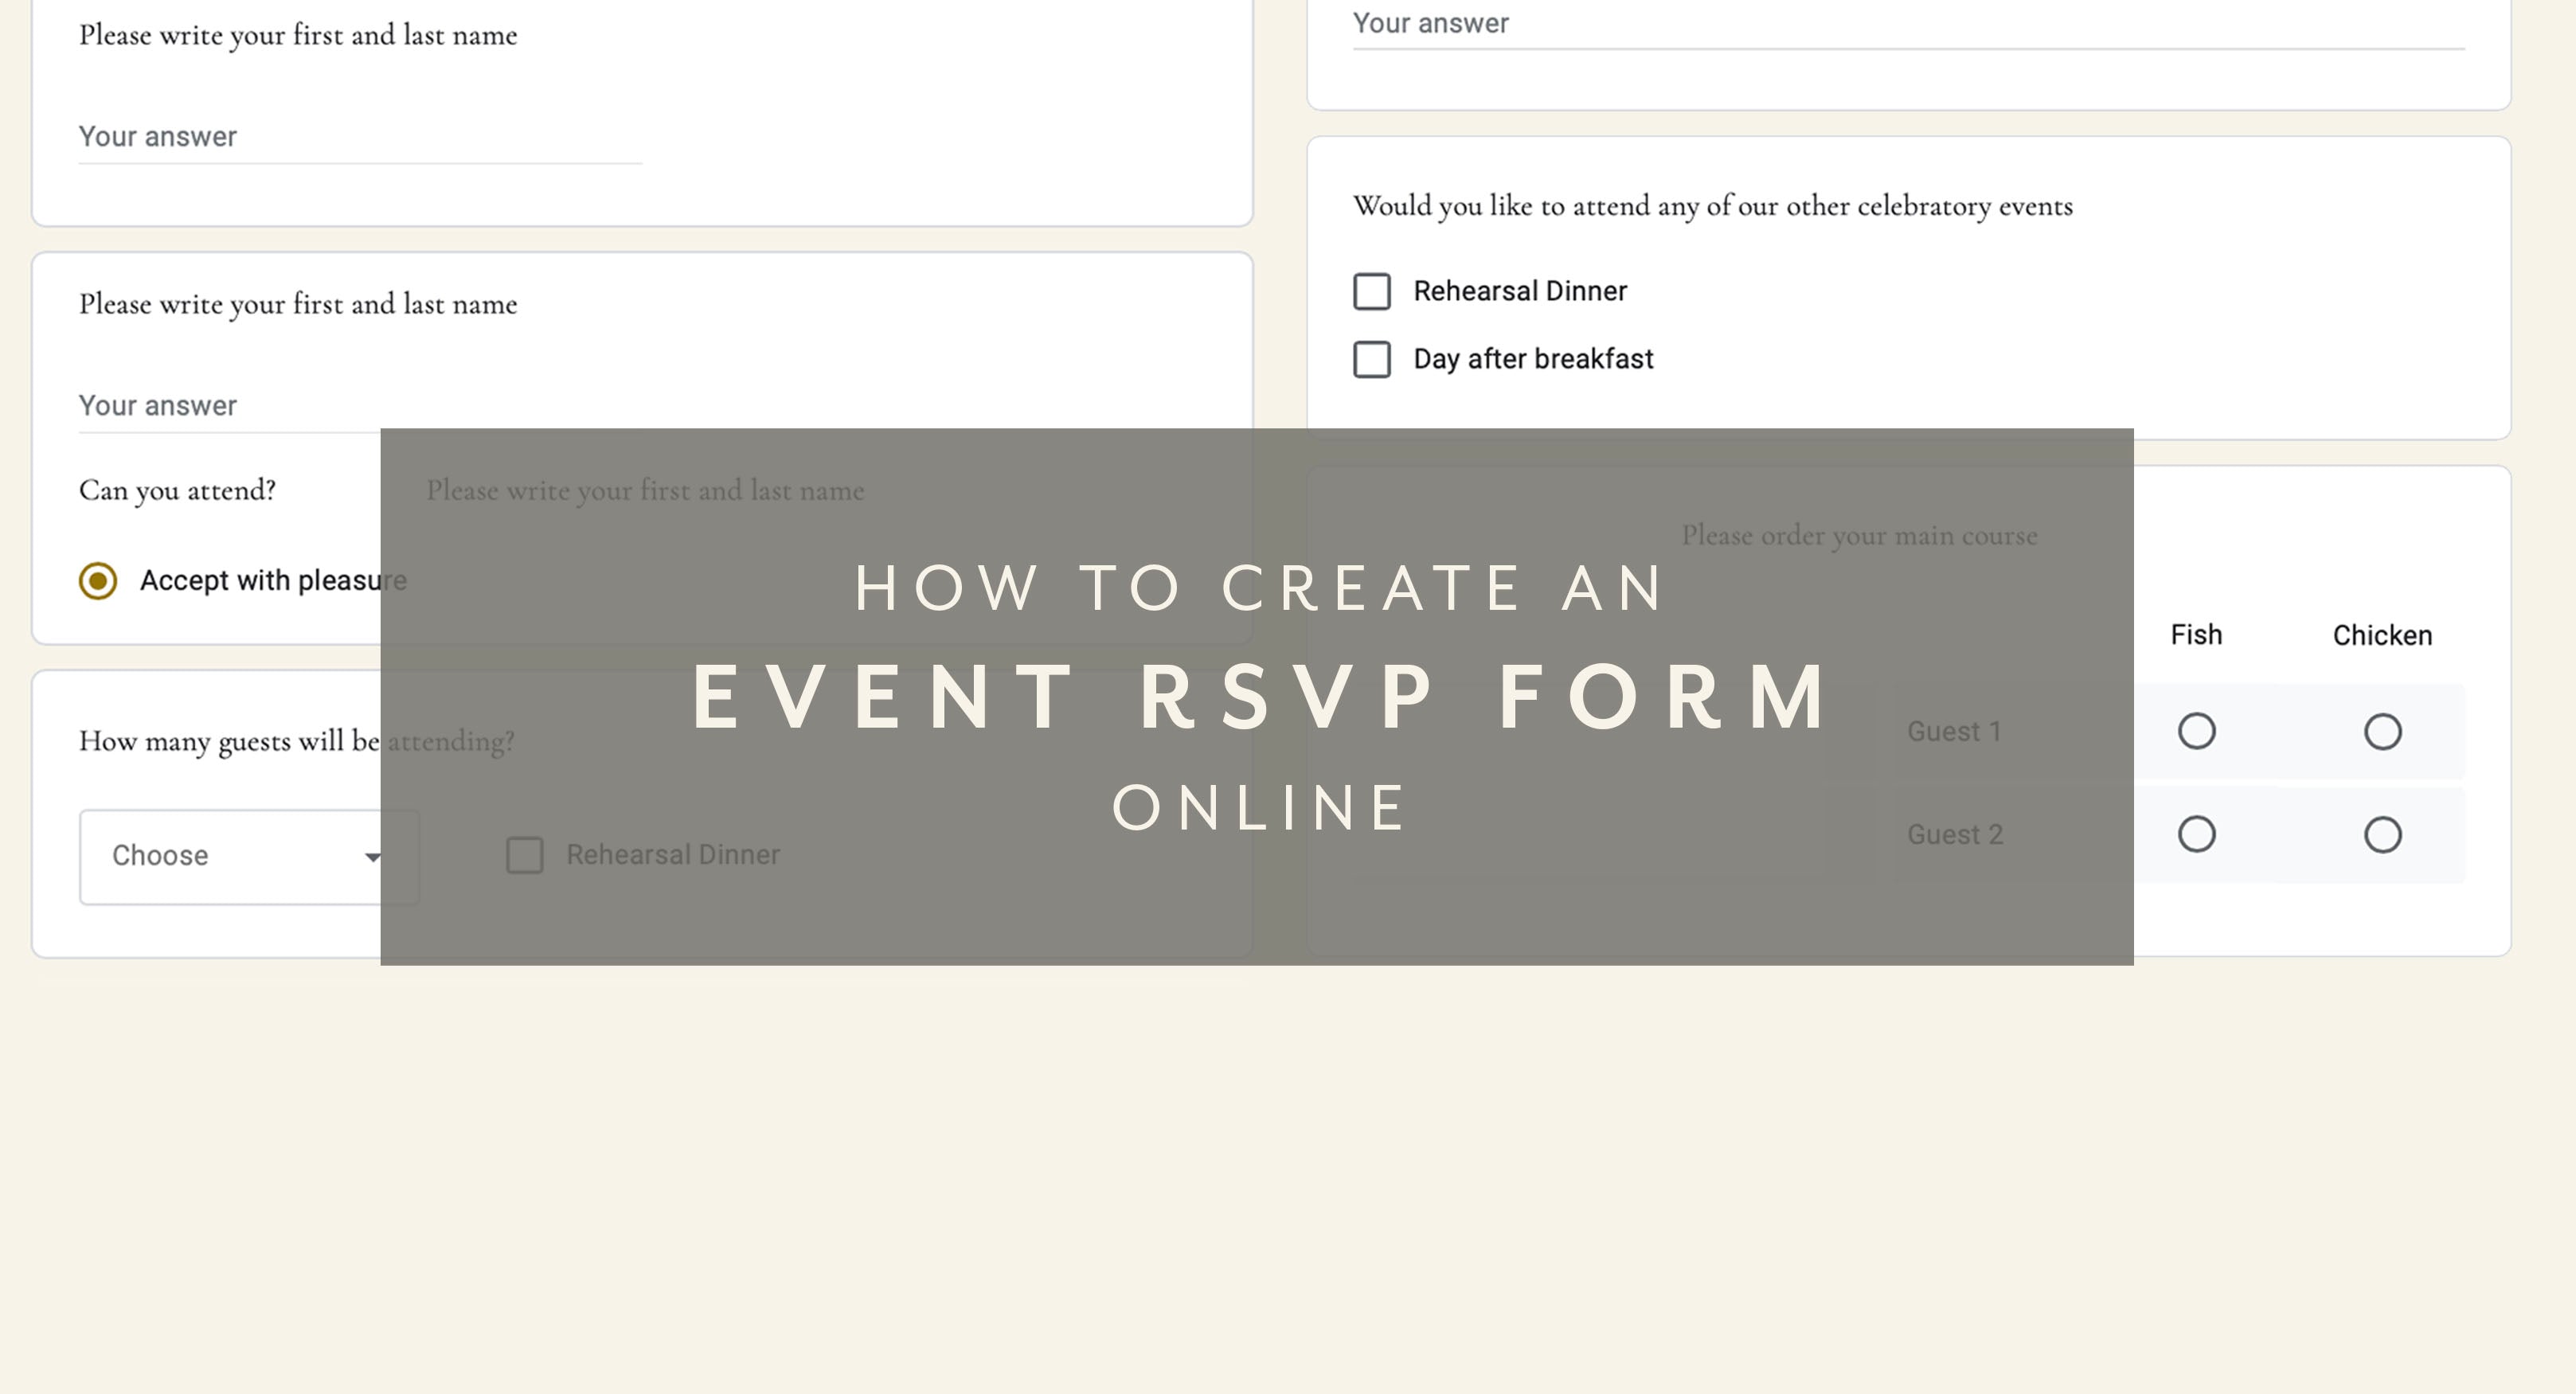
As the form does not know who is filling it in. You need to ask for the main guests name. The RSVP template does not include this question, so we’ll need to make it ourselves. We have asked for the main guests First and Last name. To do this click on the Title of your event, and your will see the ‘+’ on the right pop up menu. Click on this and a new window will be added to your form below your event title. From here, we can choose what that window is going to do. As we are after your guests name, select ‘Short answer’ from the drop down, and type in your question. Such as ‘Please enter your first and last name’. You can also make a question ‘required’ so your guests know they must give you answer before they can submit the RSVP. You will also be able to delete this window, or duplicate it for further questions.
CAN YOU ATTEND? – MULTIPLE CHOICE QUESTION

The RSVP template will already have a ‘Multiple Choice’ window in place for your guests. You may wish to rephrase the answers to suit your event. For example, for a wedding you could edit the text to say ‘Accept with pleasure’, or ‘decline with regret’. As it is a multiple choice, your guests can only choose 1 answer. You may also wish to make this a required question.
HOW MANY GUESTS ARE COMING? – DROPDOWN QUESTION
![]()
This will let you track the proper numbers of attendees. The template does not have this, so you can ‘add a question’ and choose the ‘dropdown’ option. Then add all the number options that are relevant to your event. If you cap the guests at 4 per family, then add options 0,1,2,3,4. It is important to add the 0 as an option as it will allow you to see how many respondents have gotten back to you. It will also help us later if you choose to setup a more detailed form. We recommend making this a 'Required' question. To ensure you capture all guest numbers, whether they are attending or not.
WHAT ARE THE NAMES OF THE GUESTS – PARAGRAPH QUESTION

You may wish to know the exact names of the plus ones, and who from the larger families will be able to attend. This window option uses the Paragraph question, to allow room for long or lots of names.
WOULD YOU LIKE TO ATTEND OUR OTHER WEDDING EVENTS – CHECKBOXES

Many Weddings have numerous lead up, and post ceremony events. If you would like to get a sense of who would like to be included in these, add a checkbox question window, and write the different events that your guests may be able to attend. The ‘Checkbox’ question allows your guest to select as many options as they like. Whereas other question types only offer one choice.
SELECTING A MAIN COURSE – MULTIPLE CHOICE GRID

If you would like to give your guests the options of their main meal at your reception, you can get them to order it when they RSVP. You will most likely only allow for 1 main meal per guest. So using the ‘Multiple Choice Grid’ will mean your guests can only make one selection. Our example has placed 4 guests on their own rows, and listed 4 main meal options for them to choose from. Don’t forget, if kids are coming to your celebration, you may need to allow for children’s meals as well.
ALLERGIES OR DIETRY NEEDS – CHECKBOX GRID

Lots of people have allergies. Some are pretty serious, so if you are planning to cater for different dietary needs you may wish to collect very specific information. By using a checkbox grid, You can list as many guests as you like on the rows, and all of the potential allergies in the columns. The guests will have the options of choosing as many allergies as necessary. We have listed the top allergies in the columns writing Gluten, Dairy, Eggs and Nuts. You may also wish to add a short answer question directly underneath this question, so your guest can write any uncommon allergy not on your list.
LEAVING A NOTE FOR THE COUPLE
Some guests may wish to give you further information. Adding a final question using the ‘paragraph’ option will allow this.
HOW TO DELIVER YOUR RSVP FORM TO YOUR GUESTS
HOW TO PREVIEW
Once you have finished creating your form. Preview it by selecting the eye icon ‘preview’ in the top right tool bar.
HOW TO SEND TO YOUR GUESTS

You can send this form to your guests directly via email or a link, however Motion Stamp is able to link your invitation page directly to this form. Making an easy experience for your guests.
Select the ‘Send’ button in the top right corner and you can choose a number of delivery options. If you would like Motion Stamp to create a RSVP link to your form, select the link button, and copy and paste the Link URL into an email and send it to store@motionstamp.com or use our contact form. We will take care of the rest.
HOW TO VIEW YOUR GUESTS RESPONSES

Once your guests start filling in your RSVP form, you can view the information under the ‘Responses’ heading, which is located at the top of your RSVP form. You are even able to export the information into an Excel spreadsheet if you need to deliver the information to a wedding planner, or keep track of it in your own database.
DO A TEST RUN!
Everyone will have different priorities for their event, and may wish to view information in different ways. It's always a good idea to get a few friends or family members to test out your form, and then you can see how all the information is presented to you. Based on this, you may choose to make some questions required, or event change the answers available to your guests. You are able to duplicate your forms, so if you wish to do another version you can start with fresh data from your guests.
CREATING DYNAMIC INTERACTIONS ON YOUR FORM
We have created a more involved form that will allow you to deal with larger groups of people, by making the form reactive to answers. Take a look at our example form here. For example, if your guests select that they have 4 people attending, then the form will update automatically to cater for the number of guests coming. So if 4 guests are coming, then the form will ask for 4 guests dinner orders.
This is created through adding ‘sections’, and we have an example of such an RSVP form here.
Once you have established your key questions, you can add a section to reflect what questions 1 guest needs to answer. Then add a 2nd section to ask the same questions, but with 2 guests needing to fill in the answers, and so on. This is where the duplicate button will be handy, because you can duplicate the same question 4 times, and drag it into the next section, and each time add in an extra guest. So eventually you have 5 extra ‘sections’ with each one asking questions relevant to that number of guests.

In order to make the form dynamic, and update to show the right questions to the right guests numbers, head up to your ‘How many guests are attending’ drop down question. You can then direct which section the form will open based on how many guests are attending. This makes your form very user friendly for your guests!

OTHER RESOURCES
Google Forms is used in many situations, and there are a lot of resources out there. You tube is a great place to help you find anything unique or specific you would like to include in an online RSVP for your evite.
Enjoy!
